Hosting Harbor on VPS using NGINX as Reverse Proxy
11/02/2023
LinkHarbor is an open-source container registry that can be used to store Docker images. It's an open-source alternative to Docker Hub to host Docker images.
This task is part of the Custom CI/CD Pipeline for the application ChaturMail: AI Email Generator
I was trying to store the NodeJS docker images on Docker Hub for Kubernetes to fetch but the upload speed to the images was around 500KBps and my image was over 500MB in size. Docker Hub also had other restrictions which led me to discover Harbor as an alternative.
Note: Kubernetes is referred to as K8S in a short form. Why 'K8S' because there are 8 characters between K & S.
Configuring & Installing Harbor
Getting the Helm Chart
Harbor is installed on k8s via a Helm chart by Bitnami. First, the Bitnami Helm repo needs to be added as follows
helm repo add bitnami https://charts.bitnami.com/bitnamiNow Harbor can be installed. Run the following command that'll get the YAML config. It is recommended to read the config and understand it before proceeding.
helm show values bitnami/harbor > harbor-values.yamlThis command will save the config in the file names harbor-values.yaml. It needs to be edited to set some configurations.
Helm chart configuration
Find and set the following parameters
-
service.type: NodePort- The NGINX proxy service type. The default is set toLoadBalancerwhich overtook the NGINX of my VPS and my whole VPS became a Harbor service, which isn't desired. Harbor needs to be a k8s service on localhost. Read the docs to understand moreThis should look like this in your file

-
externalURL: https://hub.example.com- The external URL for Harbor Core service. This is the URL the docker images will be tagged with
.
-
adminPassword: admin- The initial password of Harbor admin. Change it from the portal after launching Harbor
-
commonName: hub.example.com- The common name used to generate the self-signed TLS certificates
That's all for the parameters. Now let's run the installation command
Installation
helm install harbor bitnami/harbor --values harbor-values.yml -n harbor --create-namespaceThe above command will install harbor, be patient. Till it installs, let's understand the command
Understanding the installation command
helm install harbor bitnami/harbor: This indicates that we want to install harbor using the bitnami helm chart
--values harbor-values: This specifies the config values. The harbor-values.yml has edited config which will be used. If not specified, the helm chart with default values will be installed
-n harbor --create-namespace: Specifies the namespace in which harbor will be installed. It's 'harbor' in this case. The --create-namespace option will create the namespace if it doesn't exist already
To see the install progress, check the pod status
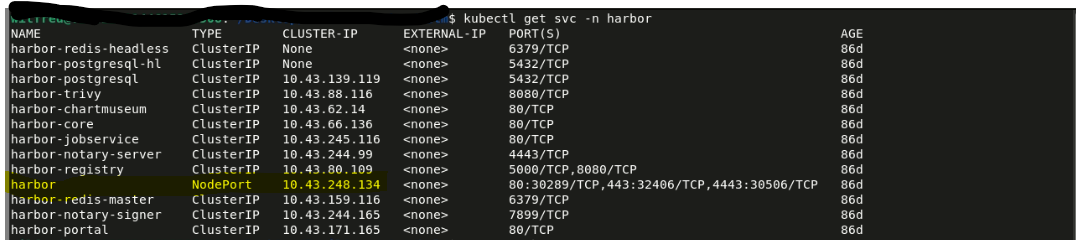
kubectl get pods -n harborCheck the created services, a service with the name harbor will be created with an IP. This is the IP of the main harbor service. Note that the IP may vary.
Accessing installed harbor
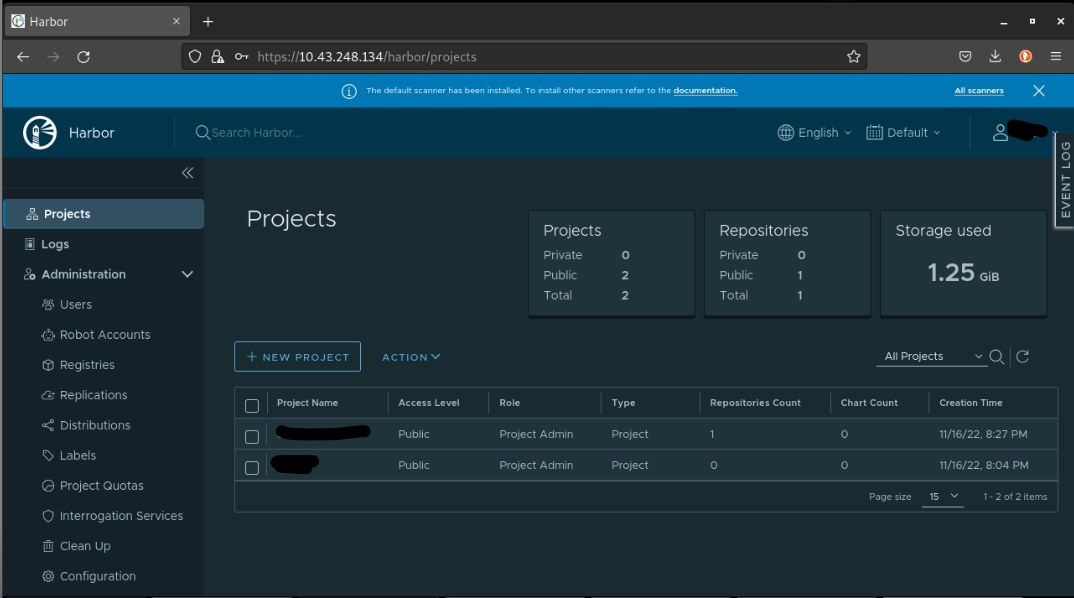
If you load the IP in a browser or curl it, you'll get the harbor dashboard

Note: The IP is local, it won't load if you try to load your VPS's IP.
You might get an SSL warning from the browser. This is because the SSL certificate is self-signed and in the following section we'll make it trusted.
Enter the credentials set earlier and you'll be logged in to the dashboard.
Creating a new harbor project
Create a new project with the following config
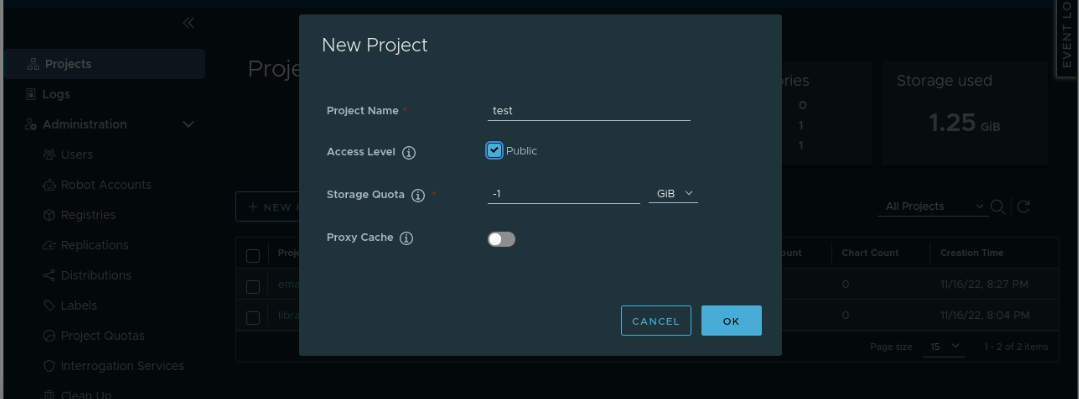
Click on the created project and click on the 'PUSH COMMAND' option, it'll show sample commands to tag & push images
Making harbor available
Firstly, the commonName parameter set above needs to be mapped with the IP address of the service, to do so, it needs to be added to the /etc/hosts file. Open the file with your favorite editor and add the following line. Replace the IP address with the IP of your harbor service.
127.0.0.1 localhost
127.0.1.1 v2202210144615205508.goodsrv.de v2202210144615205508
# The following lines are desirable for IPv6 capable hosts
::1 localhost ip6-localhost ip6-loopback
ff02::1 ip6-allnodes
ff02::2 ip6-allrouters
89.58.55.191 v2202210144615205508.goodsrv.de v2202210144615205508
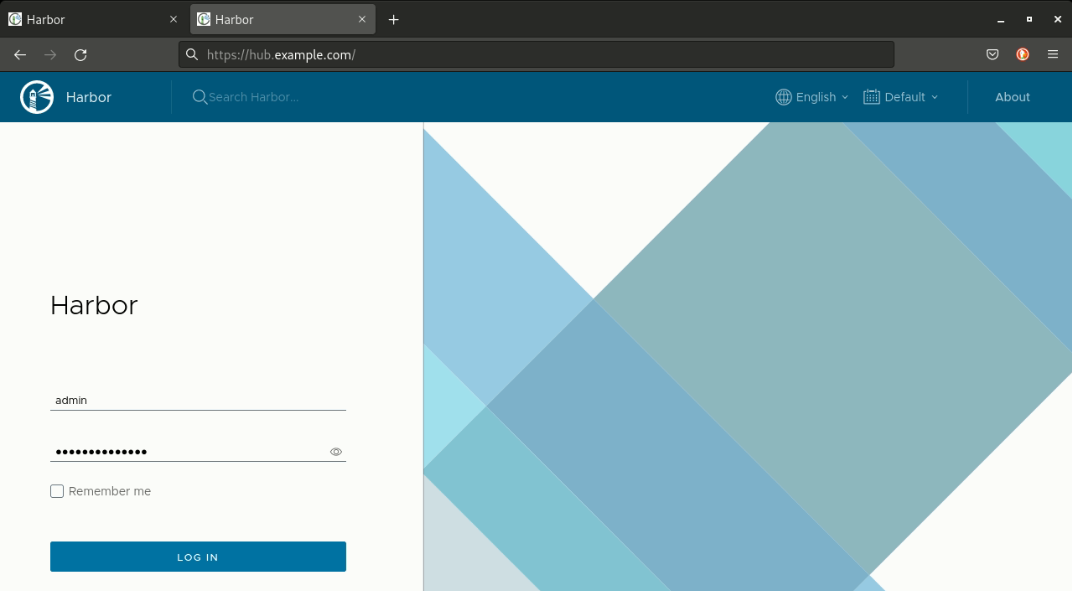
10.43.248.134 hub.example.comNow, if you load/curl 'hub.example.com' then harbor will load. Note that it'll happen only on your VPS and not on the internet. You might see an SSL certificate error, this is because the certificate is self-signed. More on this is in the following section.
Trusting harbor certificate
The docker daemon needs to trust the certificate, to do this the /etc/docker/daemon.json needs to be edited, open it with your favorite editor and add the following config
{
	"insecure-registries":["hub.example.com"]
}
After saving this file, restart docker. If you have systemctl then use the following command
systemctl restart dockerNow if you try to push, docker will give an unauthorized error. To solve this, perform a docker login using the following command
docker login hub.example.comEnter your credentials and you'll be logged in and now you can push images. Make sure your image is properly tagged.
Check your harbor dashboard and you'll find the image.
NGINX Config
Now you can use harbor. To access it via the internet, it needs to be exposed via NGINX. The following config will do it
server{

    listen 443 ssl;

    server_name hub.example.com;

    location / {

    	proxy_pass https://hub.example.com;
    	proxy_http_version 1.1;
	    proxy_set_header   Host               $host:$server_port;
    	proxy_set_header   X-Real-IP          $remote_addr;
    	proxy_set_header   X-Forwarded-For    $proxy_add_x_forwarded_for;
    	proxy_set_header   X-Forwarded-Proto  $scheme;

    }
}
The config might be needed to adjusted as per your environment.
Enabling SSL
My domain & VPS are mapped by Cloudflare, I use certbot. If you're using certbot, the following command will generate SSL given that the IP of your VPS is added as an A record in the DNS settings of your domain
certbot --nginx -d hub.example.comConclusion
That's all it takes to get harbor up and running. If you need any help/want to connect with me, reach out on Twitter.
Check out the pipeline series of blogs.
Check out ChaturMail: AI Email Generator
Keep your secrets safe :-)